During the creation process of my high poly model I used the planar modelling technique whilst using the following link as a constant reference as well as my reference image below split onto two reference planes to make the model to the best of my ability.

http://www.videocopilot.net/forum/viewtopic.php?f=20&t=116137
Here are several images showing the start, middle and end results of my high poly creation using the above link and images as references.


At this point I had decided that I wasn't going to add the arms on to the model as the deadline was rapidly approaching and I was coming across difficulties with the modelling process that were unexpected, such as finding references for the under arm area. As the main focus of my dissertation is the baking process however I believe this slight change to not be a big issue as I can still achieve my goals with this modelling change.

As I was modelling I had been using Turbosmooth as my main method of smoothing and after some research into lowering the poly count and with some helpful tips from classmates I decided to remove the turbo smooth and add a simple auto smooth with the polygon faces selected using smoothing groups within max. In doing so I reduced the poly count from 80,000 polys to 12,000. I was very happy with this as it reduced the amount back to my original planed amount for in game assets.

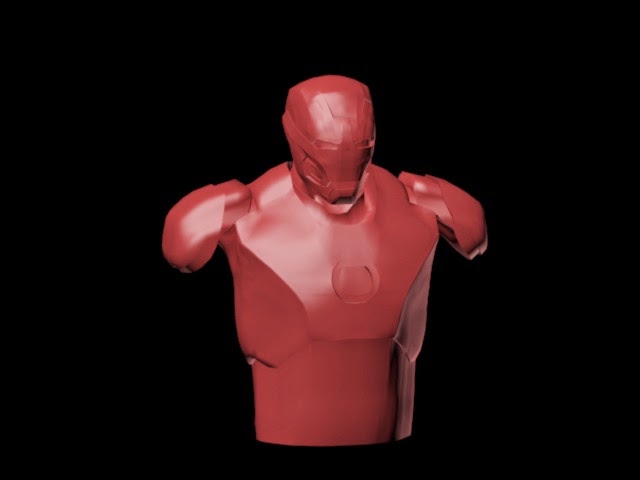
Here is the end result with no smoothing on the model at all and below is the model with a simple auto smooth applied via the smoothing groups.
At this Point I was ready to import my model into Mudbox 2014 and start following the tutorials and guides I found online to generate my low poly model from my high poly version. Again this is a slight deviation from my original plan but I believe was a necessary decision as it would show me around new software and new tools to better my modelling skills in the future.
Bibliography:
http://www.videocopilot.net/forum/viewtopic.php?f=20&t=116137
http://www.ironmanwallpaper.com
No comments:
Post a Comment